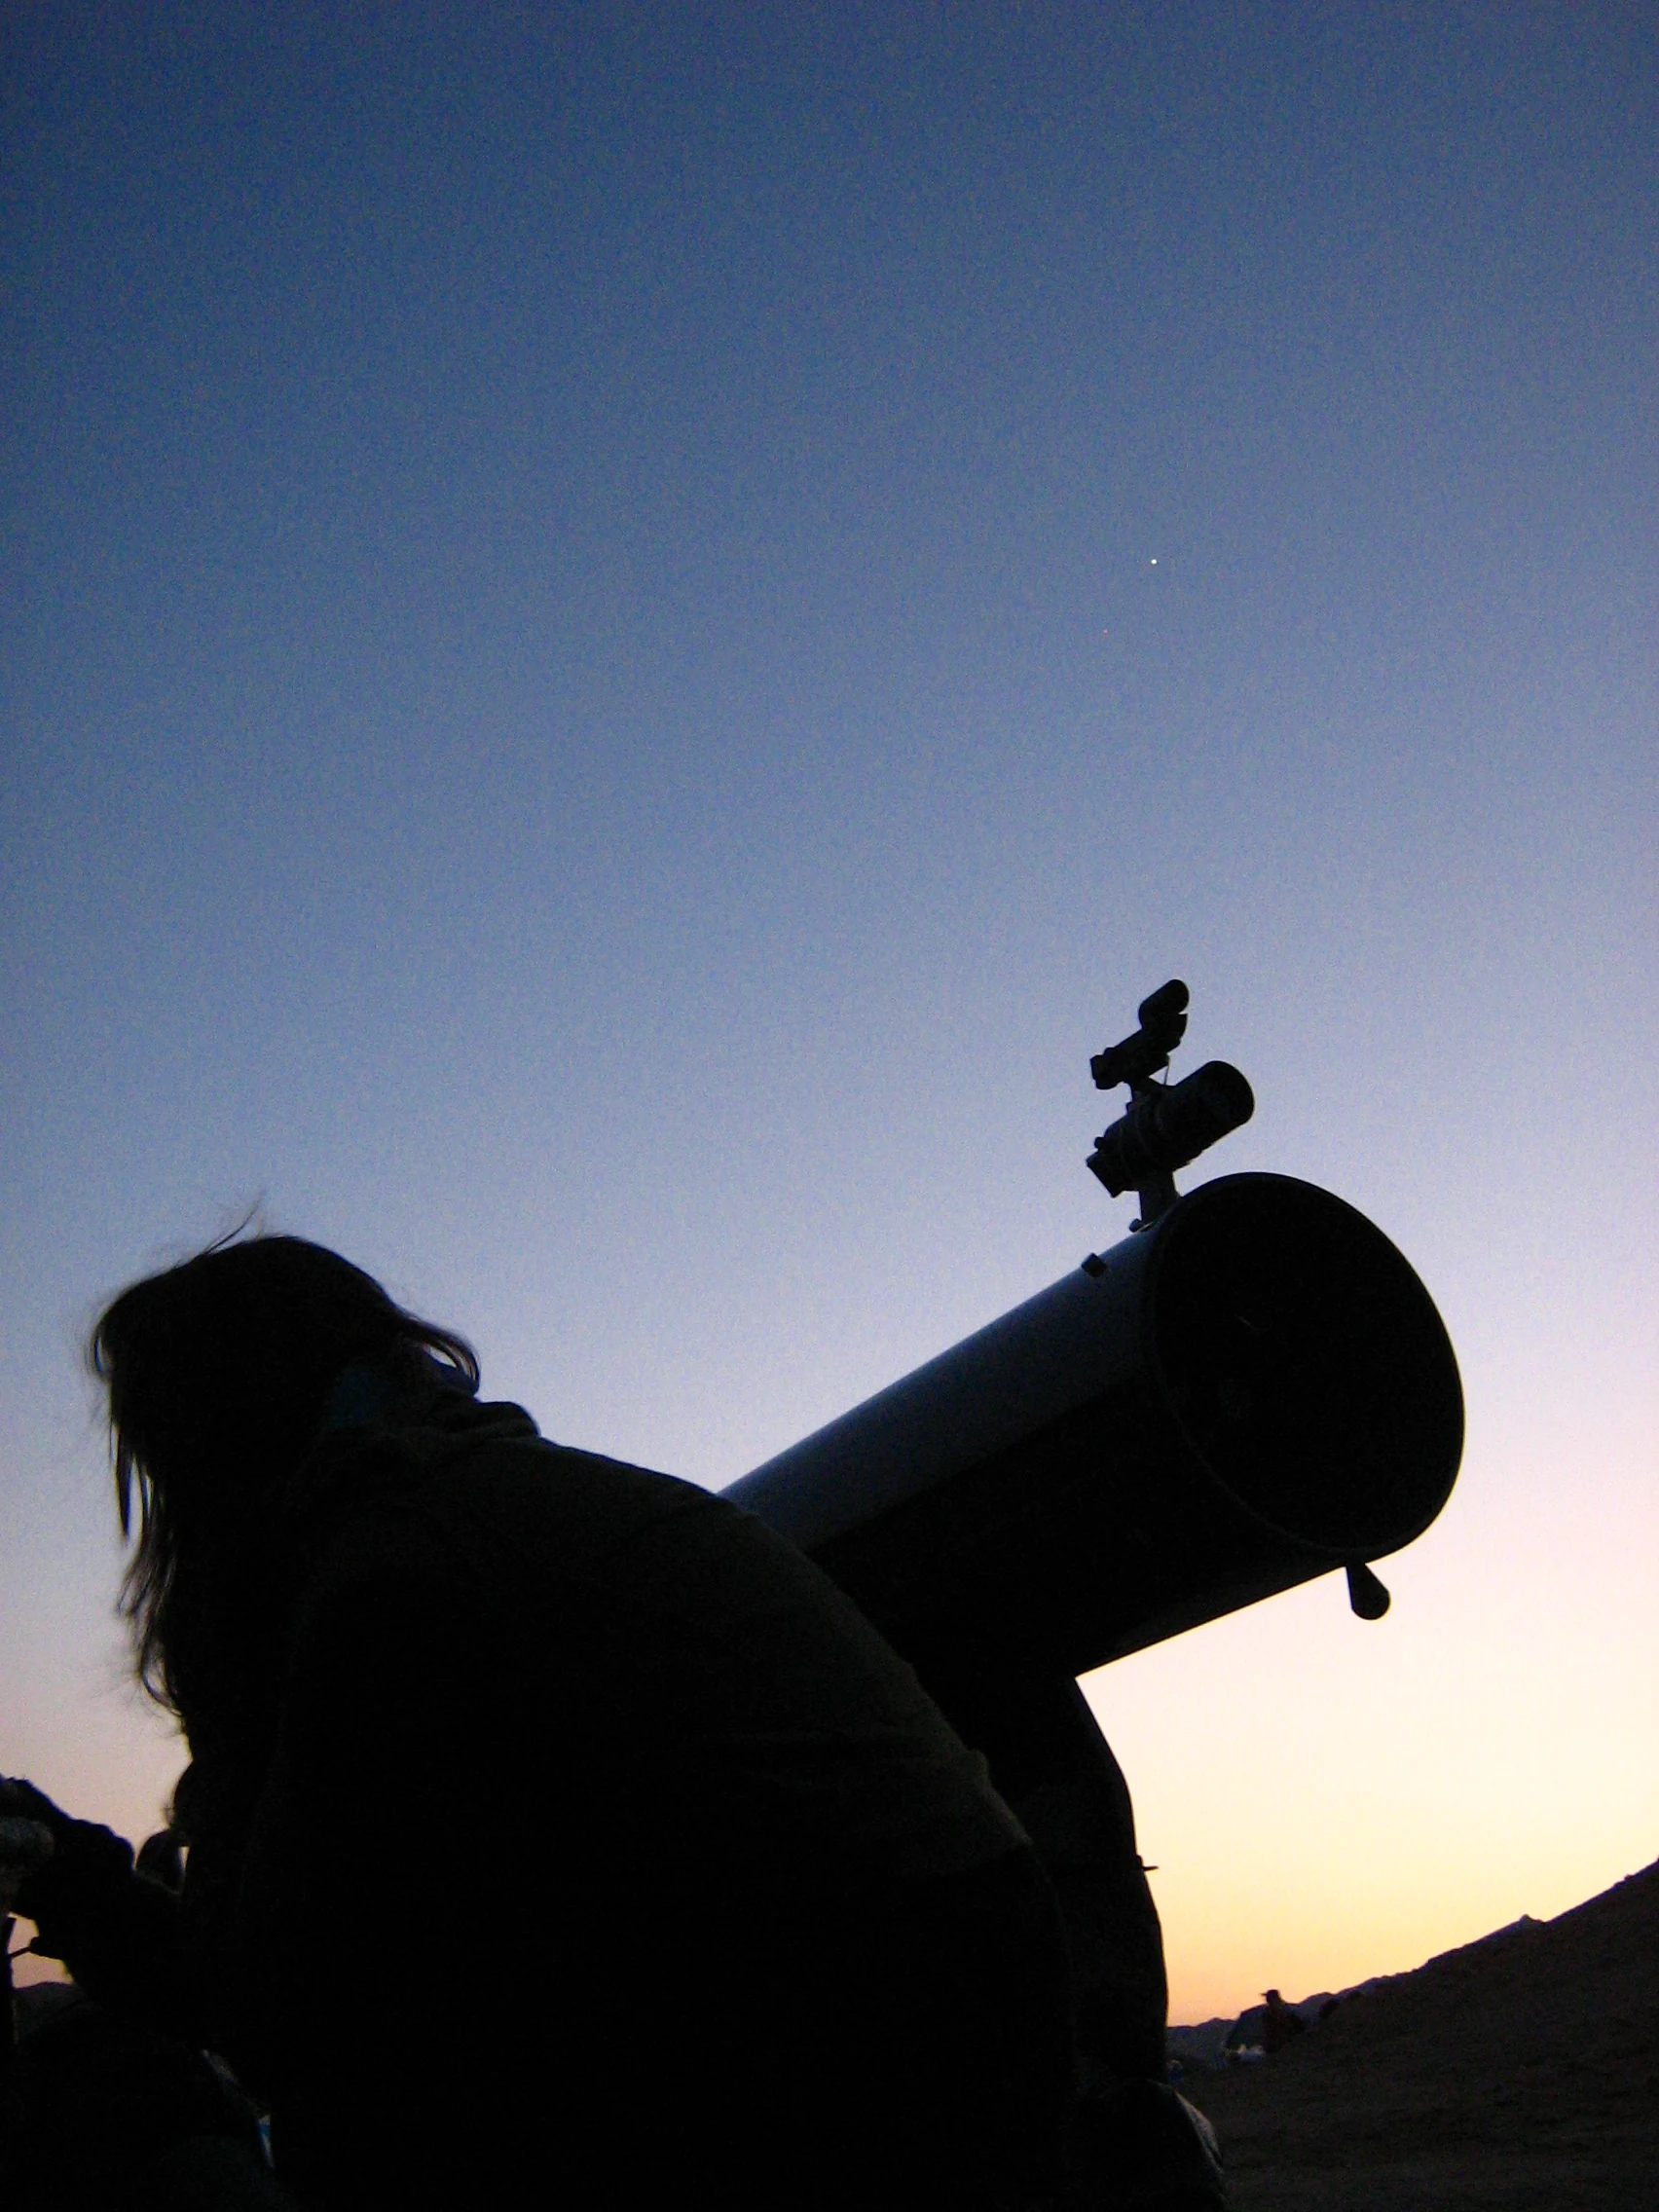
Every time I load the 8-inch Dob into the back of the car and drive the hour up to Troodos, it arrives out of collimation. Not badly (the mirror doesn’t slide across the cell), but enough that a defocused star at 200× shows the diffraction rings piled up on one side instead of sitting concentric. On an f/6 tube that costs me a sliver of sharpness on Saturn; on a faster f/4 it would gut the whole view. Before I look at anything, I spend ninety seconds putting the optics back into line. This is that routine: what collimation actually is, the two tools worth carrying, the one trick that makes a cheap laser trustworthy, and the star test that tells you when you’re done.
If you own a refractor or a sealed smart telescope, you can close this tab; your optics are aligned at the factory and glued there. This is a reflector problem, and specifically a Newtonian one.
What “collimation” actually means
A Newtonian has two mirrors and a hole to look through, and collimation is the act of getting all three to agree on where the middle is.
Light comes down the tube, hits the big concave primary at the bottom, bounces back up to the small flat secondary angled at 45°, and gets kicked out the side into your focuser. For that light path to form a clean image, three axes have to coincide: the axis of the focuser drawtube, the center of the secondary mirror, and the optical axis of the primary. When they line up, a star focuses to a tight point with a symmetric diffraction pattern. When they don’t, the star smears into a little comet, and no eyepiece or sky condition will fix it.
There are really two adjustments, and they are not equal:
- Secondary alignment. Getting the flat mirror centered under the focuser and tilted so it looks straight down the tube at the primary. This one rarely moves once set; I check it a few times a year, not every night.
- Primary alignment. Tilting the big mirror with the three spring-loaded knobs on the back of the cell so it aims its axis straight back up through the focuser. This is the one that drifts. Every bump, every temperature swing, every drive up a mountain road nudges those springs, and this is the 90% of field collimation you actually do.
Knowing that split is the whole game. In the field you almost never touch the secondary. You tweak the primary, check a star, and observe.
Why the drive knocks it out
The primary mirror floats on three springs in its cell so it can be adjusted, and springs are compliant by design. Vibration over an hour of road works those springs a fraction of a millimetre. The secondary hangs off a thin four-vane spider under tension, and thermal contraction as the tube cools from a 30°C Cyprus afternoon to a 12°C mountain night changes that tension too. None of this is a fault; it’s the price of a mirror you’re allowed to adjust. A refractor keeps its lenses in a fixed cell and pays for that stability with a much higher cost per centimetre of aperture.
The faster the mirror, the less slack you get. Collimation tolerance scales roughly with the cube of the focal ratio, so an f/4 imaging Newtonian is punishingly less forgiving than an f/8 planetary Dob. My f/6 sits in the comfortable middle: forgiving enough that a rough alignment looks fine at low power, tight enough that planets at high magnification reward getting it right.
The two tools that matter
Ignore the accessory catalogue. Two tools cover everything, and they do different jobs.
A Cheshire (the honest one)
A Cheshire collimator is a machined tube with a crosshair at the far end and a 45°-cut, polished face near a side window that reflects daylight or a flashlight down the tube. It has no battery and nothing to go wrong. You drop it into the focuser and look through the peephole, and it shows you, as a set of nested reflections you line up concentrically, whether the focuser, secondary, and primary center spot all agree.
Its great virtue is that it works on the actual optical axis defined by the drawtube. There is no electronics between you and the geometry, so there is nothing to be miscalibrated. The Cheshire is the reference the other tool gets checked against. The catch: you need light and reasonable eyes, which at a dark site at 01:00 means a red torch and some patience. Expect to spend somewhere around $20–40 on a decent one; the tolerances are simple and the cheap ones are fine.
A laser (the fast one)
A laser collimator drops into the focuser and throws a dot down the tube. Aim it, and it lands on the primary’s center spot (you did put a center spot on your primary, a small ring sticker at the exact middle, didn’t you?). Adjust the primary’s knobs until the returning beam falls back into the laser’s own target window, and the primary is aligned. In the dark this takes seconds, which is the entire reason to own one.
The honest caveat, and it’s a real one: a cheap laser is often not collimated itself. If the beam doesn’t leave the tool perfectly parallel to the tool’s body, it will confidently point you to a wrong answer. Test yours before you trust it: put it in a V-block or a loosened focuser, rotate it slowly, and watch the projected dot on a far wall. If the dot draws a circle instead of staying put, the laser is off, and every “collimation” it gives you inherits that error.
The trick that makes a cheap laser trustworthy
There’s a way to sidestep laser miscollimation entirely for the primary adjustment: the Barlowed laser.
Slide a Barlow lens between the laser and the focuser (a plain 2× is fine, and you may already own one from your first two eyepieces). The Barlow spreads the returning beam into a cone, so instead of a single dot you get a broad disc of light cast back onto the laser’s target face, with the shadow of the primary’s center spot printed in the middle of it. You adjust the primary until that shadow is centered on the target’s hole.
The beauty of it is that the shadow’s position depends only on where the center spot sits relative to the optical axis. Whether the laser beam itself leaves the tool perfectly straight doesn’t enter into it. A slightly bent laser still gives you a correct primary collimation this way. It’s the single technique that upgraded my field kit from “hope the laser’s honest” to “don’t care.”
My actual field routine
Set up, let the tube start cooling, then before the first target:
- Glance at the secondary with the Cheshire, but only if the scope took a real knock in transit. Nine nights out of ten it’s fine and I skip straight to step 2. Fixing the secondary in the field is fiddly (it needs an Allen key and a steady hand), so I’d rather do it at home on the kitchen table.
- Barlowed laser into the focuser, adjust the three primary knobs until the center-spot shadow sits on the target hole. Thirty seconds.
- Confirm with a star (below). This is the step people skip, and it’s the only one that’s actually ground truth.
That’s it. No electronics beyond a laser diode, no app, no re-learning it each season. It becomes as automatic as focusing.
The star test proves it
Tools get you close. A star tells the truth, because it’s the actual light path at the actual focal plane, at the actual magnification you’ll observe with.
Point at a medium-bright star and rack the focus out until it swells into a disc. I like Polaris for this: it barely moves, so on an undriven Dobsonian you’re not chasing it across the field while you squint. Use a high-power eyepiece. This test is meaningless at 40×; you want 150× or more.
What you’re looking at is the defocused star spread into a pattern of concentric rings around the dark shadow of the secondary. Read it like this:
- Concentric rings with the shadow dead center: collimated. Go observe.
- Rings bunched to one side, shadow pushed off-center: the primary needs a nudge. Adjust one knob a hair, watch which way the shadow walks, and drive it back to the middle. Small moves; the star reacts fast.
- If you can’t tell because the star is boiling, that’s the atmosphere, not your mirror. Wait for a steadier moment, or accept that on bad-seeing nights ultra-fine collimation is academic anyway.
Do this once at the eyepiece you’ll actually use, and you’ve verified the whole chain (focuser, secondary, primary, and your own tools) in one look. If the tools said “aligned” and the star disagrees, believe the star.
What you don’t need, and who can skip all of this
You do not need a $200 autocollimator, a holographic laser, or three different Cheshires. A single Cheshire and one laser you’ve verified will collimate any Newtonian you’ll ever own, and the Barlow you already have makes the laser honest. Total outlay is roughly the price of one mid-range eyepiece.
And plenty of people can ignore the whole subject:
- Refractor owners. No user collimation, by design; it’s a big part of what you paid for.
- Smart-telescope owners. A Seestar or a Vaonis is a sealed optical unit; there’s nothing to adjust and nothing you should try to. If you’re weighing a first scope, that sealed simplicity is one of the real arguments in the binoculars-or-first-telescope decision.
- Slow Dobs used at low power. If you cruise star fields at 50× on an f/8, a mild miscollimation is genuinely invisible. It only bites when you push high magnification on the Moon, planets, and double stars.
But if you drive a fast Newtonian to a dark site — which, if you’re chasing real skies from somewhere like Troodos, you probably are — the drive undoes the alignment as reliably as the dark restores the stars. Ninety seconds with two simple tools buys back every bit of resolution the mirror is capable of. It’s the cheapest upgrade in the hobby: not new glass, just the glass you own, pointed straight.